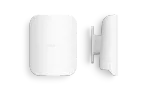
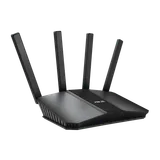
Short answer: for most homes, the best router for Starlink is the one Starlink already gave you. Keep Router 3, and if some rooms are weak, add Starlink Mesh units. Buy your own router only when you need something Starlink’s equipment can’t do:
- coverage beyond what three Starlink Mesh units reach
- Wi-Fi in a yard, barn or outbuilding
- more wired ports
- port forwarding, which also needs a Priority plan with a public IP
You connect your own router with Starlink’s bypass mode. A router with multi-gig ports won’t make Starlink faster, and no router removes Starlink’s CGNAT.
What Starlink already gives you
As of April 2026, Starlink says its Residential Max plan delivers typical downloads of up to 400+ Mbps and uploads of 20–40 Mbps, and that in most markets it comes with Router 3. Its 200 Mbps and 100 Mbps Residential plans, where they’re offered, are capped at those speeds. Plans and included hardware change, so check what your plan includes today.
Router 3 is a tri-band Wi-Fi 6 router with a band set aside for linking mesh units, two LAN Ethernet ports under a rubber cover, and an IP56 rating, though Starlink configures it for indoor use. Starlink puts its coverage at about 3,200 sq ft.
Starlink Mesh is Starlink’s own way to extend that network. It works with Router 3, the older Gen 2 router and the smaller Router Mini, but not the original Gen 1 router. Starlink’s rules of thumb are:
- place each mesh router one or two rooms from the main router
- use no more than three Starlink Mesh routers
- in homes over 6,000 sq ft, connect them with Ethernet
Starlink’s spec sheet lists Router Mini as dual-band Wi-Fi 6 covering up to 2,200 sq ft. It is indoor-only, and it can’t mesh with third-party systems. Starlink Mesh is the simplest fix for a weak room: you keep managing everything in the Starlink app, and you avoid the compatibility caveats Starlink attaches to third-party routers.
When your own router is worth it
Two things don’t change when you swap routers:
- Speed. Starlink’s fastest residential plan tops out at a few hundred megabits per second, so a router with a 1 Gbps internet port is plenty. Multi-gig ports won’t make Starlink faster. Multi-gig routers are for fiber and cable plans faster than 1 Gig.
- CGNAT. Starlink’s default IPv4 setup uses carrier-grade NAT and doesn’t allow inbound connections. A public IPv4 address is an optional setting on Local and Global Priority plans. IPv6 is native on every plan. Starlink’s own routers support neither port forwarding nor firewall rules, so port forwarding needs a third-party router and a public IP. A new router alone won’t open ports. Port forwarding explained covers the rest.
Starlink also says its Residential and Roam plans, which use CGNAT, are limited to 1,200 concurrent connections. Busy homes can hit that limit, which shows up as dropped calls, frozen video meetings, and problems with games and VPNs. Priority plans don’t have the limit. That’s a plan setting: no router changes it.
Our picks for Starlink
| eero Pro 7 | eero Outdoor 7 | ASUS RT-BE58U | |
|---|---|---|---|
| Best for | Large home beyond Starlink Mesh | Yard, barn or outbuilding | Port forwarding, more wired ports |
| Wi-Fi | Wi-Fi 7, tri-band (BE10800) | Wi-Fi 7, 2.4 and 5 GHz | Wi-Fi 7, dual-band (BE3600) |
| Wired ports | Two 5 GbE per unit | One 2.5 GbE (also powers it) | 2.5 GbE + 1 GbE WAN/LAN, three 1 GbE LAN |
| Worth knowing | App-only setup; works as router or node | Needs an eero network and PoE+ power; IP66 | Lists port forwarding, DMZ, IPv6, WireGuard |
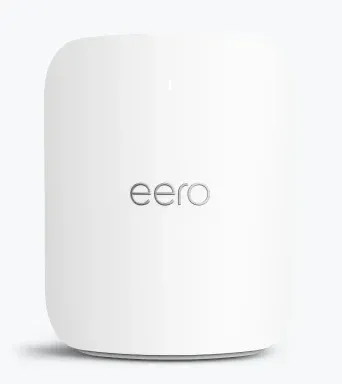
eero Pro 7. eero lists it as tri-band Wi-Fi 7 with two 5 GbE ports, support for 200+ devices, and the ability to work as the main router or as an extra node. On a large Starlink property you can add units where the layout needs them and wire them where you can; mesh backhaul explained covers why the wired link helps. Setup and management happen in eero’s app.
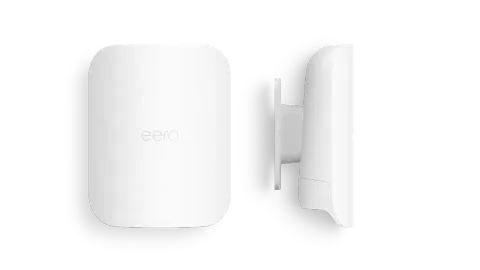
eero Outdoor 7. This is the piece Starlink’s lineup doesn’t have. eero lists it as Wi-Fi 7 with an IP66 rating, and says it can link to another eero up to 1,000 ft away. It joins an eero network, so pair it with eero routers such as the Pro 7. It runs on power over its Ethernet cable and needs PoE+ (802.3at) or eero’s weatherproof adapter. For the other ways to reach a barn or garage, see Wi-Fi to an outbuilding, and for the power side, what PoE is.
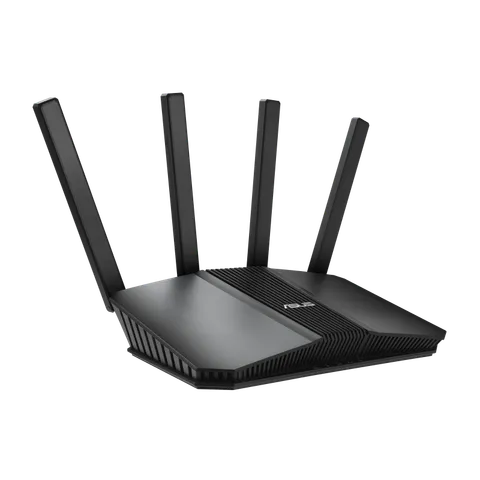
ASUS RT-BE58U. For Priority-plan users who need port forwarding, a single router with a web interface is the simpler tool. ASUS lists a 2.5 Gbps WAN/LAN port, a 1 Gbps WAN/LAN port and three 1 Gbps LAN ports. It also lists port forwarding, port triggering, DMZ, IPv6 and WireGuard among its features. For game consoles, NAT types explained shows what opening ports changes.
Coverage figures are each manufacturer’s claim, not a measurement of your property. All three product lines held an FCC Conditional Approval as of the FCC’s notice of 9 September 2026: eero’s routers to 31 October 2027 and ASUS’s RT series to 6 March 2028. Starlink’s own routers are approved to 17 January 2028. See the FCC router rule explained. For general picks not tied to Starlink, see the best Wi-Fi routers.
Connecting your own router to Starlink: bypass mode
Starlink says you can replace its router with your own by connecting it behind the Starlink router and turning on bypass mode in the Starlink app. Starlink adds that it can’t guarantee performance or compatibility, and that some app features may not work with a third-party router.
- Router 3 or Router Mini: open the Starlink app, go to Settings and turn on bypass mode. Plug your router’s WAN port into an Ethernet port on the Starlink router. On Router 3 a violet light shows bypass is on.
- Gen 2 router: it has no Ethernet ports, so you need Starlink’s Ethernet adapter first. Starlink also says Router 3 can’t replace a main Gen 2 router, because the Gen 2 router powers the dish.
- Gen 1 router: there’s no bypass setting. Replace the router with yours.
In bypass mode the Starlink router’s Wi-Fi is turned off completely, and the only way back is a factory reset. Bypass is meant for one router: Starlink says it provides only one IP address, so plug a switch into your own router, not into Starlink’s. Once your router is connected, the rest is a normal router setup: how to set up a new router walks through it.